Worm Farming
Posted by Tara on Thursday, May 14th, 2009
Why Worm Farming?
On Tuesday, Taracooks hit the road to visit a local worm farmer! Here is Lebanon’s expert worm farmer, Jayden. This is Jayden’s first year to manage a worm farm. He is quite knowledgeable when it comes to his worms. Here’s what we learned at the worm farm.
Since everyone is looking for ways to be greener, considering a worm farm is a step in the green direction. Worms thrive on kitchen refuse like peelings, leaves, bread scraps, and even paper napkins! Any such items that are fed to the worms, DON”T end up in a landfill somewhere.
After the worms multiply (about 30 days), some of the offspring can be transferred to a raised bed garden. Worms not only help aerate the soil, but they also neutralize highly acidic or basic PH levels. Many veggies are threatened by extreme PH levels. Worms are natural soil neutralizers and keep the growing veggies happy.
The liquid excess produced in the worm farm is called WORM TEA. WORM TEA can be diluted and used as a garden fertilizer. This is another “green” step since this tea is natural fertilizer. How cool is that?
Have I convinced you of the need to start your own worm farm yet? I was SOOO excited to learn that Jayden and his smart Mommy had put together a worm farm just for us! Here’s what to do to make your own:
Start with an old plastic container that was going to end up in the LANDFILL and drill a few holes in the bottom of it for drainage. Jayden used his old sand box which he had outgrown. You will want to set the container on top of something that can catch the drainage AKA WORM TEA. An old Rubbermaid tote would work well stacked inside an identical tote. Drill holes in only one tote, and let it rest inside the other, which will collect the drainage. The container will need a cover to keep the worms moist.
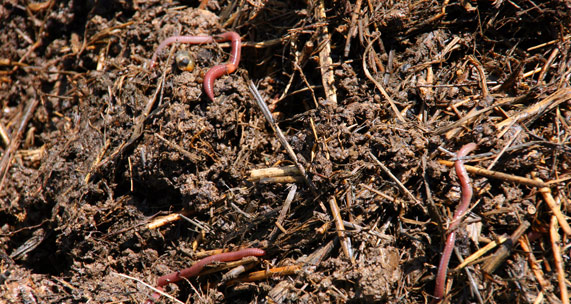
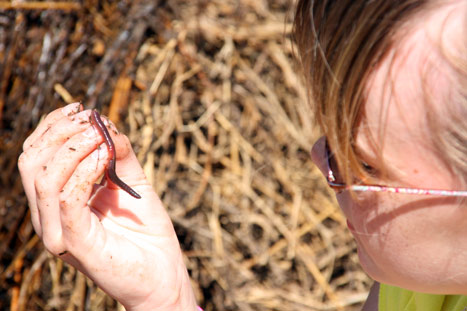
Next you will need some straw, seasoned manure (NOT from cows which have been de-wormed, else the manure could kill your worms), and a little bit of dirt, and of course WORMS! Here are some of Jayden’s worms. These are not Night crawlers, but are known as Red Wigglers. Red Wigglers are not native to North America, but came over with the Spanish ages ago.
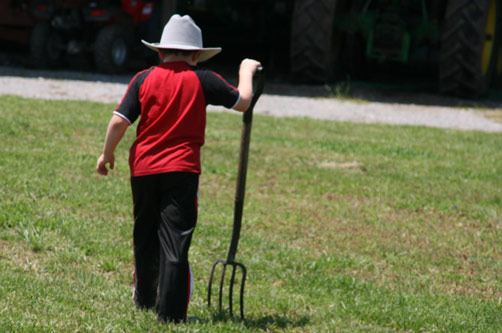
You can purchase worms online for around 30$ per thousand. But it is more fun to take a pitch fork and turn over some manure clods, or dig up damp earth and capture the little wigglers. The faint of heart can insist their sons or daughters participate in worm digging. Gloves are optional.
Finally toss those worms into the plastic container. Make sure there is a little moisture in the bottom of the straw mix. Then begin feeding the worms by tossing your leaves, peels, bread scraps, and paper napkins into the container. Keep a small pitchfork or shovel close by to turn the whole mixture. Keep the bottom of the straw damp by adding some collected rainwater. Worms do NOT like chlorine from tap water. Cover the container and let the worms do their thing. (Worms do not like citrus peels. Do not put meat scraps in the worm farm to avoid attracting maggots. Do not put any paper towels which have been used with cleansers).
Jayden’s worms eat more than their body weight in kitchen garbage every day. When he and his mom noticed their household produced more kitchen waste than the worms could eat, they decided to start another worm farm in a separate container.
Thanks Jayden for sharing all about WORMS. We had a fantastic time at your farm, with you and your mommy and your worms. And folks, if you need any advice on worm farming, I will put you in touch with the cutest farmer ‘round these parts.
Filed in Gardening | One response so far
One Response to “Worm Farming”








Cynthia Cluckon 27 May 2009 at 5:23 am 1Hey Jaden
Mr Lanny and I have been thinking of starting a worm bed . Sure glad we know an expert who can advise us.